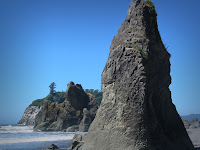
 In this example, I have used a photograph I took on the Olympic Peninsula, WA. The photo to the right is the unaltered version. Make the duplication layer just like in the previous tutorial and add a layer mask to it.
However, since this effect will be seen from eye level, a simple reflected gradient mask will not necessarily work to give the desired effect. Other objects in the foreground might be on the same plane as objects in the middle or background that we wish to give focus to, therefore a more precise layer mask is needed.
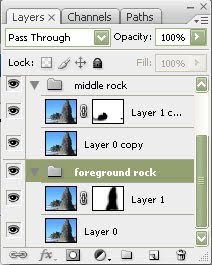
 On this example I created two different groups to demonstrate the effect. The first group, named "foreground rock", shows the masked rock in the foreground created using the either the quick mask mode or using a black brush on the blurred layer mask. The second group, named "middle rock" shows the masked out rock in the middle ground. Remember we are manipulating the layer that has been blurred and masking out the area that we want to be sharp, which is the layer underneath it.
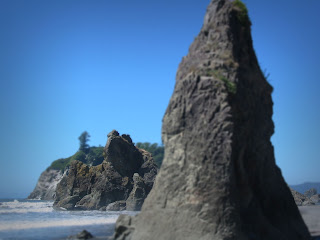
Here are the final results for the two different depth of field alterations to the photograph:


A great way to give an interesting effect to a Flash animation is to use images that you can alter the depth of field to. Just open up the Flash file, import the two images onto separate layers, make them into movie clips and then tween the alpha (opacity) between the two which will give the effect of a lens depth of field shift from foreground to middle ground or background.

No comments:
Post a Comment
Tell me what you think!